Showing posts with label flatbread. Show all posts

Sunday, March 27, 2011

Getting caught up :) LW,MF 12

Its funny , I was all caught up and up to date ...  then I started back at the farm  :))  Which gave me a whole bunch of ideas for posts ... too many in fact between the food Ive been making and starting back to work , building cold frames, and even a catering quote tucked in there ....  I think I was a little over whelmed.   I just needed a day when I can write to get started , and today is that day .  I have exactly 30 minutes to finish this before I have to go ( To the butchers to get some sausage for dinner :))  So Ill keep it short :)

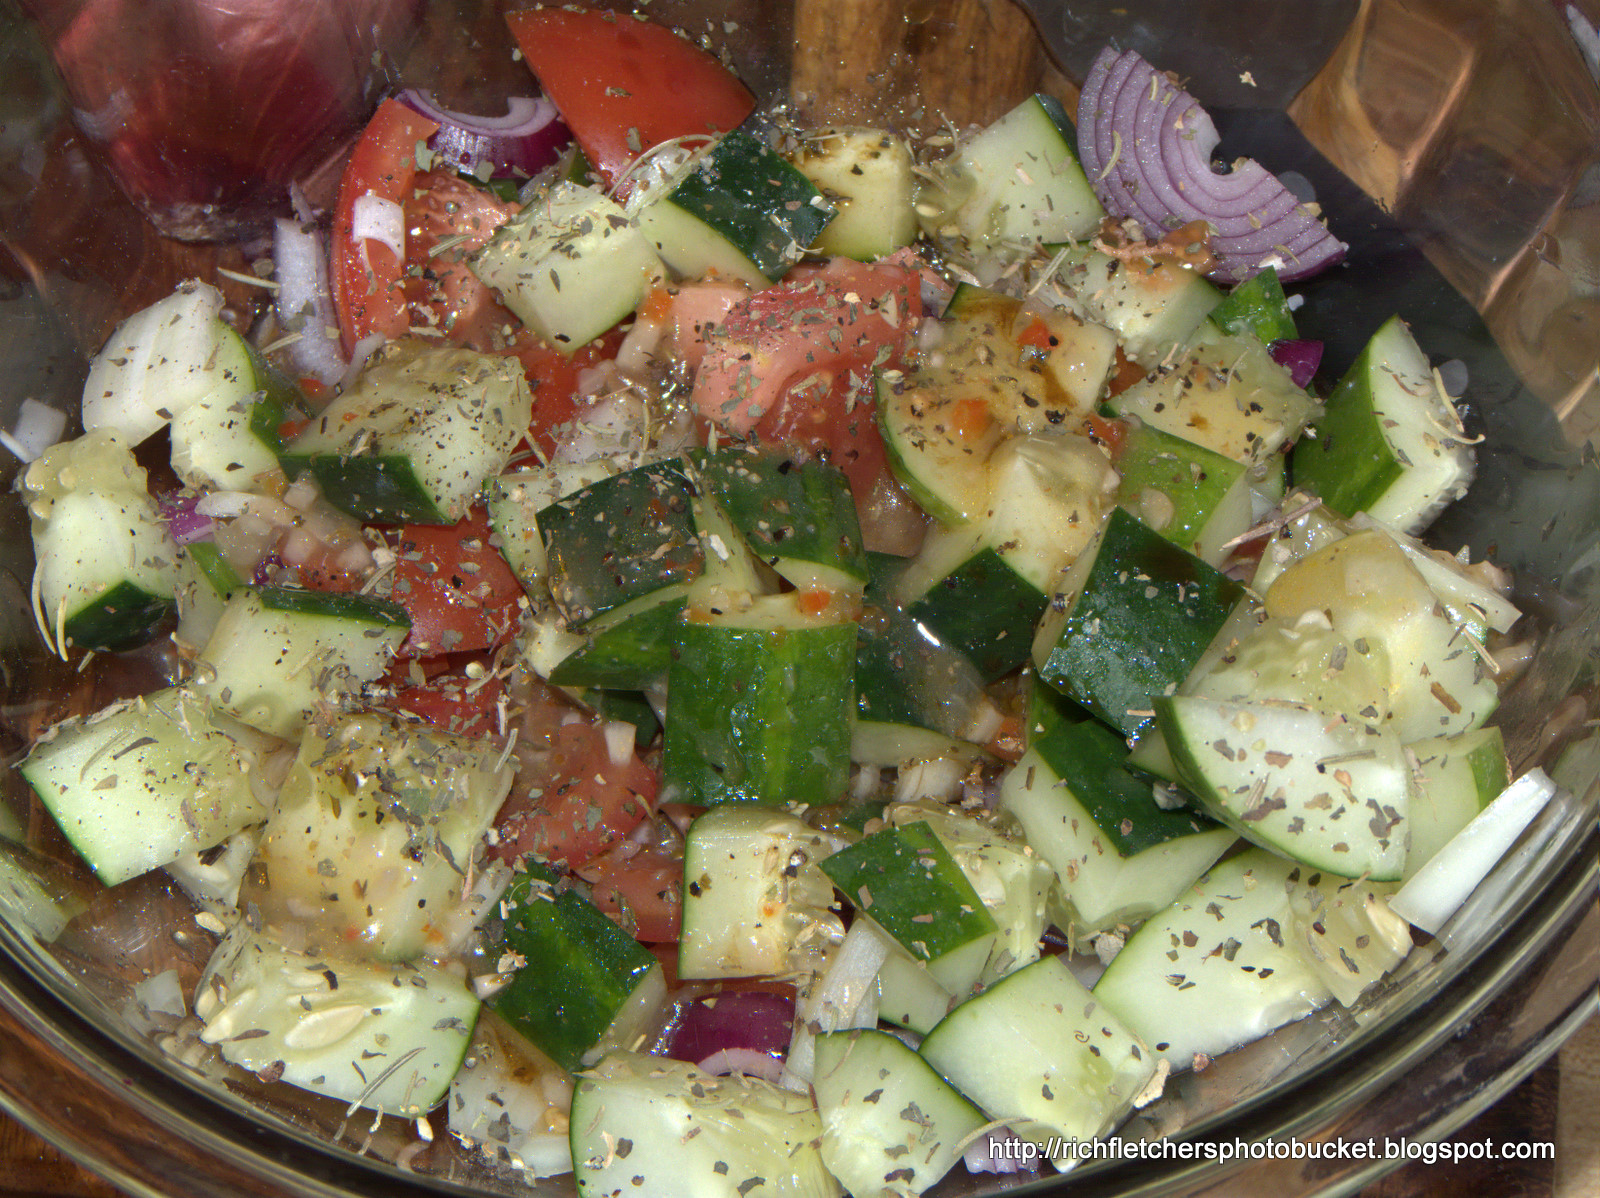
Making a Tomato/Onion/Cucumber Salad for work :) 

Meatballs with the tomatoes I canned, Mozzarella and Onion 

Mexican Sausage Flat Bread Pizza,  with Mozzarella and Goats Cheese 

Breakfast to go ,  Melon slices with homemade WW bread, and a herbed yogurt spread 

More Mexican Sausage Pizza ??  Didn't mean to double up .. oh well, enjoy seconds. 

Homemade Whole Wheat Bread .  

Making a batch of butter in my food pro :)  

I had a MAJOR whoopsie moment and used a metal spatula on my enamelled cast iron .  So to avoid any future problems , I seasoned it like I would my other cast iron pots. Its a mess , but its protected and usable again !! Part of a new series on my Facebook page : Kitchen Tips & Tricks :))  


I hope you have enjoyed today's post,  I have some time set aside tomorrow to hopefully get a few more done . Is there anything you would like to see?? Recipes ? Pictures , Stories etc,...  don't be shy , leave a comment below.  :)
Happy Cooking
Rich

Friday, November 26, 2010

Meat Lovers Sirloin & Sausage Pizza - Pizza from scratch 3 of 3

Pizza!!  Such a wonderful, versatile food!!
If you have been following along , you can skip the next two pictures.   If your just finding this link or page,  this is part 3 of 3 , this is a quick photo recipe of how to make pizza from scratch. 


Red Pepper and Garlic Pizza Sauce

Click here for a photo how to : http://richfletchersgoodfoodrevolution.blogspot.com/2010/11/my-favourite-sauce-making-pizza-from.html

12 Grain Whole Wheat Pizza Crust ( Rolling pin optional :)
Click here for a photo how to : http://richfletchersgoodfoodrevolution.blogspot.com/2010/11/crisp-12-grain-pizza-crust-making-pizza.html

Assemble your ingredients.
 For the pizza toppings I used , this made enough meat for two pizzas, so if you only making one , or don't want extra .. divide the meat quantity by two. 
  • 1 pound ground sirloin
  • 1 Mexican sausage ( approx 1/4 lb )
  • 1 red bell pepper
  • 1 red chili pepper
  • 5 or 6 mushrooms ( Use your favourite, white ones were on sale :)
  • 1/2 Anaheim pepper
  • 1/2 poblano pepper
  • 1 medium red onion
  • 2 cloves of garlic
  • 3 roasted red peppers
  • 1 cup of your favourite cheese - I used Mozzarella and 6 yr old cheddar

Slice everything, except the red chili and garlic, these should be minced. 

I start the pan with a  a small hand full of onion, and a pinch of the garlic,  then add the meat.  Breaking it up with a spatula.  Cook on medium heat until lightly browned.

Save a small portion of the roasted red peppers and red onion for later.


Add all your veggies to the pan, I like to add a little S&P , and L&P at this point. Maybe a sprinkle of chili powder if your in the mood for it.
 Now is a good time to get the oven warming.  I cook slow and low, so 360F it is,  don't forget to preheat your pizza stone if using one.  Your pizza will cook more evenly. 

I like to sizzle this until the peppers are half way cooked, 5 minutes maybe . 

While the pan is on , you can grate your cheese.  I made the mistake of letting the Mozzarella  come to room temperature... made for difficult grating. 


Spread the pizza sauce over the crust, add a sprinkle of cheese , and move to the pizza stone.

Next  It's time for the good stuff,  Today I choose to pile it high!!  Try to spread it out evenly/

Once your happy with the meat and veggies, sprinkle the remaining cheese,  red onion and the roasted peppers over the pizza.  This was a meat lovers, but if you wanted to add some more cheese, it could easily become a cheesy meat lovers:)
 And into the middle of  the hot oven , for about 15 minutes. 

I like to let my pizzas sit for a few minutes before slicing. Seems to help when cutting a stacked pizza.  Leaving it on the stone will ensure its still nice and hot.

Nothing left to do now but , grab a slice and enjoy!!
Well, I hope you've found my 3 parts series on making a pizza from scratch helpful.I'm sure Ive missed a few steps in there somewhere. I was having a hard time putting thoughts to keyboard this week. So please fire away if you have any questions or comments. 
My favourite thing about pizza , is you have SO many options and styles to choose from... and almost any combination of goodies will work.  Just remember to have fun with it !  Enjoy!

Happy Cooking
Rich


Baking

Tuesday, November 23, 2010

Crisp 12 Grain Pizza Crust - Making Pizza 2 of 3

I had a hard time deciding which step came first , the sauce or the crust, as when I'm making everything from scratch I usually start both at about the time.  Both steps require about an hour to produce, but no fear, that is almost all resting/simmer time.  If you are pressed for time, both can be prepared ahead of time.

Just a quick comment before we get started on this easy to make crust .  I've recently changed how I upload my photos to the web album, then onto here.  It has an option for a large file size, which limits it to 1600pixels,  instead of the 4mb original shot which was around double that.  So please , if you see a drop in picture quality let me know.  Either by posting a comment or sending me an email, the link to which is on the right hand column , near the bottom.  Thank You. 

So , now on to bread making .   I should note I prefer a crispy crust, so that is what this will produce.  I'm working on a couple of other styles, and will be posting them sometime in the, hopefully, near future:)  You will need
  • A large mixing bowl, and wooden spatula 
  • 1 cup 12 grain flour - no additives, just the whole grains ( some ground , some whole )
  • 2 cups whole wheat flour
  • 1/2 cup spelt flour - If you don't have any just add some of either above
  • 3 1/2 tsp of yeast
  • Olive Oil, Salt & Pepper,   
  • Basil, and a clove or two of garlic ( You can add almost anything you like here ) 
  • 1 1/2 cups warm water
  • Pizza Stone or Baking Sheet
Please keep in mind, all the above ingredients are quite flexible ..  I rarely use any thing other than a mug a Teaspoon for measuring, and never follow my original recipe ( Thanks Jean :) anymore. 
 

I recommend assembling everything before you begin, photos are optional :))

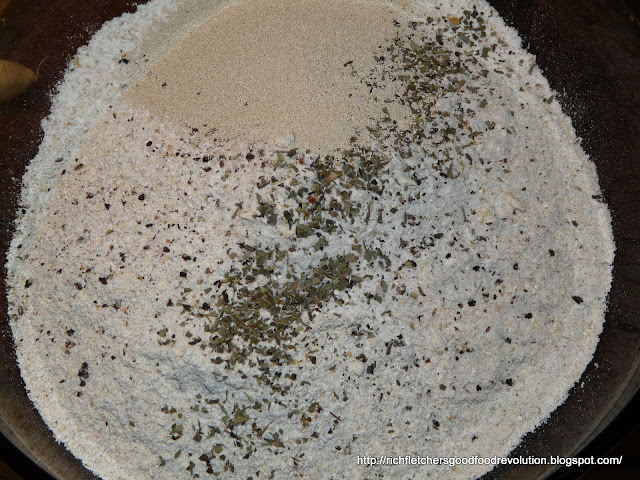
Add all your dry ingredients, and give it a good stir to blend everything.

Make a well in the middle of your flour. Then add a couple of glugs of olive oil , and a cup of water to start

I do all the mixing in the bowl now. Just with a spatula, just keep stirring it around ,  adding a bit of oil if its sticking too much.  Keep going until its a consistently thick.  Usually 5 - 10 minutes. Then place a clean tea towel over the bowl and leave it to rest.
 You can do things,  a couple of different ways here. Usually I let it rest for 30 minutes , twice knocking it back down ( remixing ) with a spatula.  
 I forgot about it for an hour,  and it had risen right to the top of the bowl!!
 If your going to be cooking this right away, now would be a good time to preheat your oven, and pizza stone.  360F is where I cook mine,   I go for the slow and lower method ( partially due to my oven not holding high temps well ) 


After it has risen,  I give it one last mix, more oil maybe required,  and divided the dough ball in two ,  saving half for the next day.  This should make 2 nice 12" pizzas...  I say should , as well...  see for you self :)

The dough will be very elastic, and a little unwieldy..  I have two methods,  this one is way more fun :)  I simply stretch the dough as far as I can in my hands, and then flop it onto the stone,  The spread it out by hand , until Ive reach my desired thickness.  

Or as in this one ( same batch , next day )  I flopped it onto the hot stone , and rolled it out .. nice and even. 

Once your crust is cooked , almost all the way ( approx 20 minutes depending on the thickness, I like to check at the 10 & 15 minute marks ) Remove it from the oven.  
 If your saving it for another day , place it on a rack to cool for about twenty minutes. I have a large freezer bag that I keep handy for flat breads, and such.  Other wise : 


Add your sauce and toppings...    and away you go.
I realize a lot of you are thinking.. this is not how to make pizza :)  Well your right,  but this is my way of making pizza , and I love it.  It allows a lot of forgiveness, its super easy , and can be all be prepared ahead of time, and even frozen if that's the way you like to do things.  :)  Please check back soon , for part 3. Enjoy!

Happy Cooking :)
Rich

Baking on FoodistaBaking

Saturday, November 20, 2010

Easy Chili Chicken Flat Bread - Creative Leftovers

Lost for a dinner idea?  Or just tired and not in the mood to prepare something large ? All you need some extra roasted or BBQ'd chicken ( a half a breast per person ,  or a leg or thigh each )  A few of your favourite veggies, some flat bread and cheese.  , and you can be eating great in 20 minutes :)  A little longer if you want to make your own flat bread first , but that's a post for another day ! 

Since this is about keeping it simple and easy , Ill keep the banter to a minimum and just show you how its done... 


Rough chop your favourites I chose Portobello & White Mushrooms, Red Bell Pepper, Onion, and Jalapeno Peppers ( These you might want to chop a little finer ) there is also a clove of garlic minced in there somewhere.   

I prefer to slice the chicken , but any method will work fine.  This was a honey/chili roasted breast.


Sunday, October 31, 2010

Garlic and Onion 12 grain Focaccia bread

Earlier this week I made my first hand made bread. I've made a few in my bread maker before, and have bought the dough from my local bakery and made many things from them, but I have not tried one from scratch before.  That one was a little bit of a mess to start off with , but in the end it was great!! So much so that it only lasted 2 days, and here I am 5 days later making another one!
The ingredients:  An organic red onion, local garlic, yeast , sea salt , and a half a bowl of whole wheat flour, mixed with 12 grain whole wheat flour ( 5 parts WW to 1 part 12grain )
I've got to say, I followed a very cool recipe in Jean Johnson's Hippie Kitchen. With great instructions, and almost no measuring.  The only one you need to know is 1 cup of flour to 1 teaspoon of yeast.  The rest is all up to you , or me in this case. 

A good pinch of sea salt and dried basil. For the next step you will need a cup or two of lukewarm water


I start by adding about a cup of water , stir then keep adding water till its consistent. Use a wooden spoon at this point, not your hands. 
Click the link below to see the rest :)

Saturday, October 30, 2010

Sunny Side Up Veggie Naan Bread

,I made a vegetarian dish ? On purpose ?  Wow!! How life has changed for me over the last few years. Even a year ago, cooking without meat was unheard of...   but that is a story for another day :)

So here we go,  Ill try to keep the instructions to a minimum and let the pictures do most of the talking.
I'm going to start trying Meatless Mondays soon , and seeing as I'm used to the vegetables being a side, not a main. I figured I better start trying a few ideas out.  So, this is my first on purpose vegetarian dish:


The Ingredients: S&P,L&P, red onions & pepper, mushroom's, farm fresh egg,  chili pepper, garlic clove, mozzarella and 5 year old cheddar, butter and a Whole Wheat Naan Bread.


Slice the red onions your favourite way, an add to a med/hot pan with a pat of butter. Let these sizzle while you you slice the mushrooms.