Showing posts with label fresh herbs. Show all posts

Sunday, July 17, 2011

Gardening In June

First off.  I must apologize for being so far behind on my blogging , I just can not seem to get my writing mood working properly .   Now lets get caught up :))
June is an exciting month to be gardening ... everything is starting to takeoff, and if you planned it well, you can even have a few salads , and some tasty early crops.   Radishes , lettuces, spring onions, even peas ...  plus of course the herbs.  MmmmMmmm so exciting to watch, kinda painful to have to wait for it all though !


My 1st 3 sisters plot is doing well., I should have waited a few more weeks before planting the beans though , they ended up going a little wild without a nice corn stalk to grow up . 

1st week of June,  everything is safe from frost now , cold frames have been removed... its time to grow!! 

The peas needed a little help climbing the chair.  

The maple sticks were plenty strong enough to support the peas, but for future reference , make sure they are dried!!  Hahaha they started sprouting on me.  

June is great for lettuces.. not too hot . Mmmm fresh garden salad!   I'm not very good at thinning , but am getting better .. esp. now that I just eat the thinnings. 

Basil :)) My favourite herb.   This year I'm growing most of it in containers, and only one test patch in the ground.   

By mid June ..  the peas were flowering!!  

Mid June again , my first full salad from the garden .. lettuces, radishes, onions, and a few herbs. 

I cut a large bunch of my oregano, and hung it in a breezy sunny spot to dry out.  Funny, i don't like fresh oregano, only dried. 

TOMATOES!!!  Yeah !  I will have to wait at least another month to eat them ... but I'm so very happy.   Proper spacing of my tomato plants this year , has made a huge impact on how many tomatoes per plant I'm getting .  Don't crowd them, it does not get you more tomatoes.  

June is full of flowers!!  These are Scarlet Runner Beans.  

Radishes are a great early crop,  in less than a month you are eating them!  

By the 3rd week of June , things are really starting to pick up!  The squash is starting to sprawl out :)) 

Same with the peas, by the 3rd week ... I'm eating them on every trip to the garden . 

My Bright Lights Swiss Shard is doing amazing , and tastes just as good! 

This radish was growing for  about 35 days !  It was huge :)) 

The peas finally climbed the chair :))  Will be drilling a few holes in the seat for next season ...  to let a little more water underneath . 

By the end of June , the onions I left in the ground last fall have gone to seed.  Time to clip the heads and try and save some.  


That brings us up to July !  Ill be doing a two part post for that as there is so much going on !!   I have a garden journal , so If I have skipped something , or not explained it fully .. please just leave a comment below , and Ill happily fill in any blanks!!   Either that or jump over to my Facebook page , and check out the daily goings on there.

Happy Gardening !!

Wednesday, November 17, 2010

Roasted Red Pepper & Garlic Hummus

You've seen them. At the grocery store , all those stacks and stacks of plastic tubs with different colours , and flavours gleaming at you from near the deli isle :)  I used to stop there every week, and drop $5 on a small tub of Hummus... usually it was a roasted garlic , or red pepper.  That was before I started making my own. My first attempt was almost identical to this posts version, Which I must say I enjoyed immensely. So  I thought Id try to recreate how it all happened for me and share.The best part is that after my second batch turned out as well as the first I swore myself off the store bought, and now enjoy a healthier, tastier and cheaper hummus made by me, with my tastes in mind.  Plus I get to control all the ingredients, which can be as few as three. I do try not to add more than eight or ten , as you tend to start losing some flavours. 

Okay, enough babbling.  Time to show you how easy this is. 

The most cost effective way to make this is to buy a bag of dried chick peas ( also called garbonzo beans ) , If you can find organic ones, grab them. Besides the lack of chemicals, I find them to have a better texture. .   

  Pour them into a bowl, and pick out any green or black ones. They always mention to look for stones too, but I have yet to find one. 

The dried peas do require an overnight soak.  If you don't have the time or the patience for this step ,  buy some good quality canned ones and skip the next two steps :)  If your in Canada the PC Organic Chick Peas are really good for canned ones
Dried chick peas NEED to soak overnight . Make sure the are well covered in water and simply soak for 24 hours.  I think the alternative is to boil them for 4 hours, but I have not tried this. 


Once they have soaked, or if you are using canned ones instead. You will need to give them a good rinse, and have a double check for any funny coloured ones.  Notice one on the right that slipped thru the initial inspection. 
Next up, add them to a large pot of boiling lightly salted water. You will want lots of water, about 4 cups for every cup of peas.  The packages always say to boil for 45 minutes, which is fine for using the  chick peas in dishes, for hummus I like to add more water at the 45 minute mark and boil for a further 30 minutes.
If, like me and using the whole bag. You will have way more garbonzos than you know what to do with. Give them all one more good rinse. Then I like to freeze the extra  in 3 cup portions.  That way the next hummus you make will eliminate all the above steps.

Now the fun begins, assemble all your flavours.  I'm using organic garlic, black sesame seeds ( for garnish ), Tahini Paste, L&P, Sea Salt, Black Pepper , Olive Oil, Of course chick peas ( I used 3 1/2 cups of boiled ones. ) and as in my first attempt a jar of fire roasted peppers these were water packed ones.   

Chuck everything into a food pro.  I only chop the garlic, the rest is whole.  I used 2/3rds of the jar of peppers,  you can use more or less. But I have a plan for the remaining 1/3.  (Future Post Hopefully)  plus I added a shake of my chili powder and a few pinches of basil at the last moment. 

I usually start it up on slow speed with a few good glugs of olive oil.. once it gets going I increase the speed and add oil until you like the consistency.

Don't forget to stop and have a good look and taste, It may seem like your adding a lot of salt,  but your making 4 cups of hummus .. that is quite a lot.  ( 4 grocery store tubs worth! )

Once you've reached the consistency you're looking for. ( I don't like it lumpy ,  but do stop before it gets creamy ) Pour it, with the help of a spatula into a resealable container.  I also like to sprinkle something on top.  This time its black sesame seeds and coarse sea salt.
That's it, you now have 4 cups of an amazing roasted red pepper and garlic hummus :) About 4 times what you'd get in a prepackaged one at the store , all for about the same price as one 1 tub.   PLUS you should have at least a few packages in the freezer.  Now all that's left to do is grab yourself some homemade bread and veggie sticks and you've got a great lunch , or even a light dinner.  Or like tonight, a great late night snack. 
Happy Cooking!
Enjoy :)
Rich

Sunday, November 14, 2010

Never Buy Ready Made Again - Easy 4 Pepper Salsa

By the time I have finished typing this post, we will have surpassed One Thousand Page views!! Wow!! That's Amazing!! So I would just like to say a quick Thank you for all your support in helping to get our ( Yours and Mine )  Good  Food Revolution off to a great start!  So Thank you all!!  Now back to your regularly scheduled post :)

I love making Salsa ..  Its such a great way to use up the extra tomatoes and peppers in the summer, which is when I usually make one a week just to have on hand. I use it for burgers, stuffing for meat , sides for lunch , nachos, quick flat bread pizzas...  you'd be amazed at how many different ways you can use a good salsa!    So you can imagine my delight when I walk into a local grocery store, in November and find fresh Ontario Tomatoes and Peppers!! (Hot House) and they didn't even want a fortune for them :)) 

The ingredients! Red Onions, Tomatoes, Anaheim Chili Poblano and Red Peppers, fresh Garlic,Sea Salt, Black Pepper and Lea & Perrins. All local except the avocado, and that didn't end up in the salsa lol. I used it as a topping after the fact.  Missing from the picture is : Olive Oil, Basil 
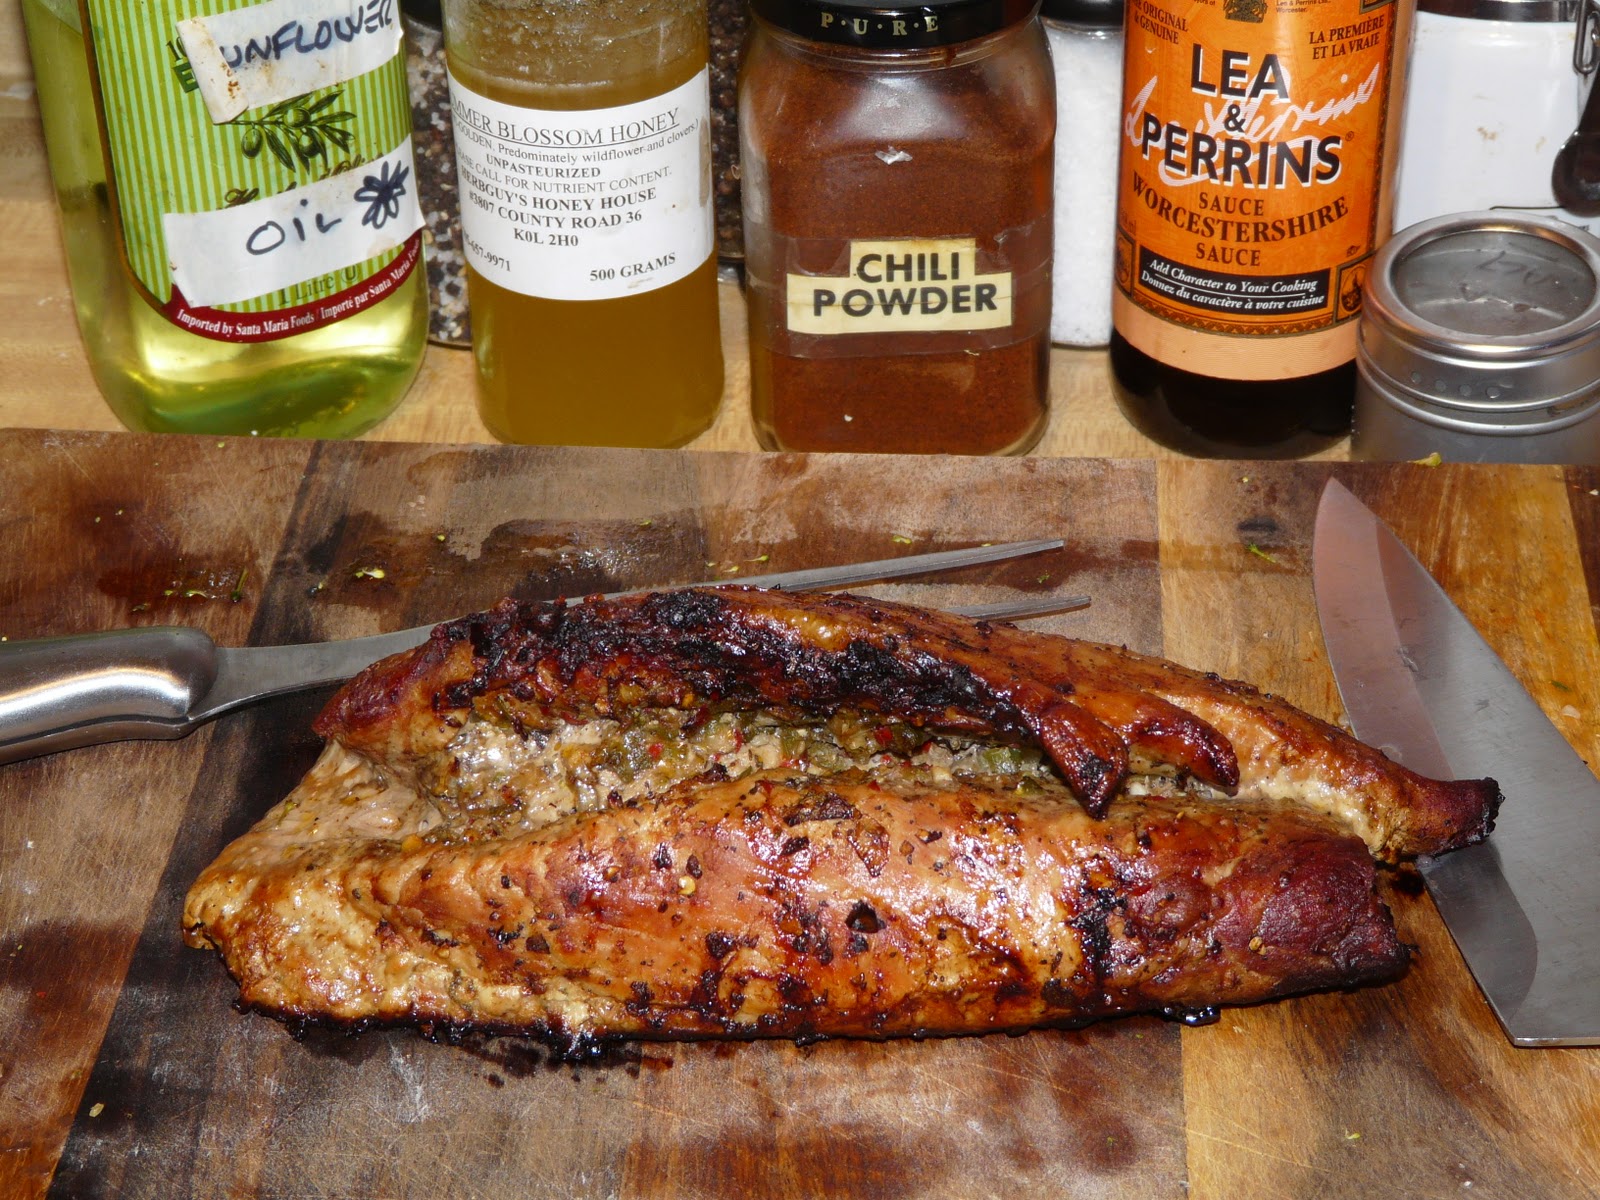
The peanuts were not used :) They were simply my snack while preparing food,  As I was also making homemade Focaccia bread and roasting a couple chicken breasts for later
.
Grab yourself a large resealable container ( preferably glass not plastic :) Start chopping and adding, doesn't matter what order , as you will be mixing it later .  The size of the chop depends on how you like your salsa .. I like mine chunky!  So I usually finely chop a small amount and rough chop the rest ( garlic and hot peppers I always chop finely )

Just keep chopping and adding until your bowl is full or you run out of vegetables. The mushrooms are for the chicken breasts I was cooking...  but they almost got added to the mix. 
 Now at this point , you will want to add a good glug of olive oil, A few pinches of dried basil, several splashes of Worcestershire Sauce, and freshly cracked sea salt and black pepper to taste. Then mix well before the next step.

I remove 1 cup for every 5 cups of salsa I make , and proceed to blitz it, using a stick/hand blender, into a thick paste.  You can skip this step for really chunky salsa , but it wont have that sticky effect . That makes salsa great for dipping and scooping.

  Add the salsa paste back to the bowl, and give it a good stir.

And there you are simple, easy, great tasting 4 Pepper Salsa. I would recommend letting it sit in the fridge for a couple of hours before eating, but you don't have to . 

Now I realize a lot of you are asking  WHERE is the Cilantro ??  I've got to say , I'm not a fan. I do enjoy the taste , but the smell... well I won't say what I think it smells like.  Then again , the smell of skunk doesn't bother me .. So I know I'm a little different in that department.  So for all you Cilantro lovers... now is the time, grab your fresh herbs, and add as much as you like!  I won't be able to smell it, so its OK! 

This was a medium heat easy eating salsa, you can easily make it hotter, just add another chili or a few jalapenos to the mix or for ALOT hotter go for a habanero or scotch bonnet. Or if milder is your taste, remove the chili pepper, and add a few more sweet peppers, yellows and orange one look and taste great . 
That's one of the best things about salsa , you can adjust it to just about any flavour or heat level.  
I encourage everyone to give this a try, and let me know how it works for you!! I'd love the feedback, even email me a picture and Ill save them for a future post!     

Happy Cooking!
Rich


Follow Me on Pinterest

Sunday, November 7, 2010

Roasted Double Stuffed Pork Tenderloins, with Roasted Carrots, Portabellos, Turnip, Red Pepper & Onion, Broccoli and Potatoes all in about an hour :)

Do roast dinners intimidate you ?  Too many pots , pans and ovens to keep track of? How would you like to be able to do everything , in the oven ?  All you need is 2 or three oven safe baking trays, lasagne pans or preferably some cast iron cookware and about 20 minutes of prep time.  The rest is simply timing.  This is something I came up with out of laziness :) For those long days , when you dont really want to cook, but know you should eat something good.  Besides,  who doesnt like a good roast dinner!  Especially without all the fuss and dishes !

The ingredients, I buy my potatoes and carrots from a local farm, so i simply scrub and do not peel them, the rest is just wash and slice:)

A little sunflower oil and chili powder for the roast potatoes :)
Next is the stuffing , I used fresh rosemary, sage , red onion, garlic,  jalapeno, chili pepper , and sea salt . 

Take your pork tenderloin , and slice almost 3/4 the way thru length wise, wash and pat dry. 

Add your minced goodness to the pockets in the pork, unfortunately I missed the next photo somehow .  But I folded the two tenderloins together . < > Over lapping each other to create 4 layers.  If you have kitchen twine or silicone straps, now would be a good time to truss it up . I couldn't find mine and just let them sit :)  Into a preheated oven @ 350F , set the timer for 30 minutes.   


 Add a drizzle of sunflower oil, honey , Lea & Perrin's , and a couple of cracks of sea salt and black pepper add them to the oven, and set the timer for 15 minutes.  While your adding the veggies, check on your pork and potatoes...


At the 30 minute mark, while adding the veggies. Check on the roast and rotate the potatoes for ultimate crispiness! 

After the 15 minute timer goes off (total cook time 45 minutes) add the mushrooms and broccoli, a little S&P, and sunflower oil.  I also lightly rubbed the broccoli tops in the pork drippings for a little extra flavour:) Set the timer for 10 minutes. 

Total cook time 55 minutes , (if your unsure of it being fully cooked, please check with a thermometer) remove the pork to a warm plate and let it rest for 10 minutes.  Check the veggies, if they are done, just leave them in the oven , but turn it off..  I tend to like them a little extra roasted , so i left it on. 

I transferred all the veggies to the pork pan, to soak up some extra flavour. Set the timer for 10 minutes and back into the oven.  On or off your choice at this point. 

After ten minutes of resting, move the pork to your cutting board.  If you like warm plates, like I do,  now would be a good time to put them in the oven.

I don't normally start by cutting it in half, but I knew I had forgotten the assembled raw pic and wanted to show the layers .  They came a part a little as I didn't tie it , but Ive got to say it worked great anyways!  Slice as you like it , I prefer large piece, and will cut on my plate. 


All that's left is to take the veggies from the oven , and arrange on a warm plate! Grab a knife and fork and a glass of red wine and Enjoy ! 

Ive got to add, the reason for the one small turnip is , Ive never liked them .. but have recently found that organic veggies are changing my previously disliked foods. So far this makes, Beets, Turnips, Parsnips and yes even Brussel Sprouts that I have enjoyed in the last month , all organic and delicious.  
I hope you enjoyed my : Roasted Double Stuffed Pork Tenderloins, with Roasted Carrots, Portabello Mushrooms, Turnip, Red Pepper & Onion, Broccoli and Potatoes. 

Happy Cooking :)
Rich

Roasting