Showing posts with label organic. Show all posts

Sunday, June 26, 2011

Starting My Garden Early 4

:)) It seems that stabbing your foot with a pitch fork is good for getting caught up on blogs !!  Hahaha Thank fully I just nailed on toe , and not the whole foot. Its amazing how much one toe can hurt though .  So that leads me to this post ,  I'm finally caught up to June, well I will be once this one is done.   Yeah!!

I would like to apologize to everyone for being so far behind on these, it was an odd couple of months for me... but I'm back and the words are coming to me nice and easy .

This post is all about the last 10 days of May ,  which up here in Ontario Canada is our last frost date ...  and the time when most people start gardening ,  I had a great head start and actually planted seeds in March :))

This post should cover that :  http://richfletchersgoodfoodrevolution.blogspot.com/2011/04/starting-my-garden-early.html


Ive never had much luck growing potatoes , so I thought Id try out the bucket method...  ( Ill be doing a blog post on the whole process once Ive harvested )  If you want more details, follow this link to my Facebook page 
http://www.facebook.com/media/set/?set=a.188441627869894.39828.118986254815432
I decided to try a 3 sisters planting ...  I kind of jumped the gun on this and planted the beans and squash a little to early .  I have two more plots , so I have another chance to get it right .  

:))  This is some ornamental corn I started inside ...    love this shot . 

The trellis for my peas,  I used freshly cut maple sticks ( MISTAKE!! ) hahaha they are trying to regrow.  Ooops , its too late now , but next time I'll use ones that are clearly dead.  

Someone suggested using an old chair to let peas trellis on , found this one .. so far so good.
In the corner is a mini greenhouse I made from a water bottle... the tomatoes needed just a little more warmth to get them growing . I left them on for a week, and it worked like a charm :) 


Tuesday, November 23, 2010

Crisp 12 Grain Pizza Crust - Making Pizza 2 of 3

I had a hard time deciding which step came first , the sauce or the crust, as when I'm making everything from scratch I usually start both at about the time.  Both steps require about an hour to produce, but no fear, that is almost all resting/simmer time.  If you are pressed for time, both can be prepared ahead of time.

Just a quick comment before we get started on this easy to make crust .  I've recently changed how I upload my photos to the web album, then onto here.  It has an option for a large file size, which limits it to 1600pixels,  instead of the 4mb original shot which was around double that.  So please , if you see a drop in picture quality let me know.  Either by posting a comment or sending me an email, the link to which is on the right hand column , near the bottom.  Thank You. 

So , now on to bread making .   I should note I prefer a crispy crust, so that is what this will produce.  I'm working on a couple of other styles, and will be posting them sometime in the, hopefully, near future:)  You will need
  • A large mixing bowl, and wooden spatula 
  • 1 cup 12 grain flour - no additives, just the whole grains ( some ground , some whole )
  • 2 cups whole wheat flour
  • 1/2 cup spelt flour - If you don't have any just add some of either above
  • 3 1/2 tsp of yeast
  • Olive Oil, Salt & Pepper,   
  • Basil, and a clove or two of garlic ( You can add almost anything you like here ) 
  • 1 1/2 cups warm water
  • Pizza Stone or Baking Sheet
Please keep in mind, all the above ingredients are quite flexible ..  I rarely use any thing other than a mug a Teaspoon for measuring, and never follow my original recipe ( Thanks Jean :) anymore. 
 

I recommend assembling everything before you begin, photos are optional :))

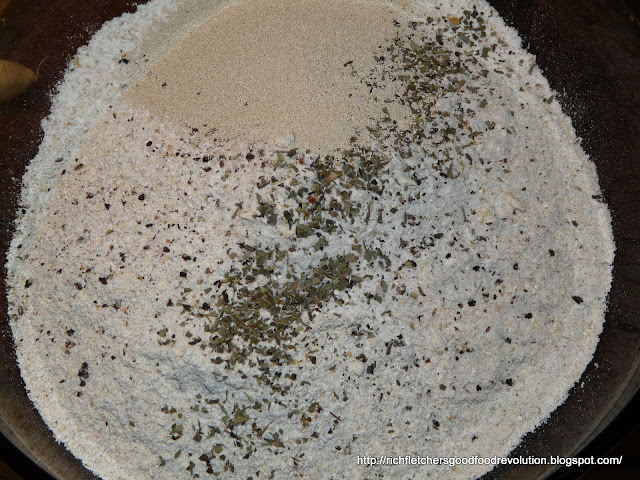
Add all your dry ingredients, and give it a good stir to blend everything.

Make a well in the middle of your flour. Then add a couple of glugs of olive oil , and a cup of water to start

I do all the mixing in the bowl now. Just with a spatula, just keep stirring it around ,  adding a bit of oil if its sticking too much.  Keep going until its a consistently thick.  Usually 5 - 10 minutes. Then place a clean tea towel over the bowl and leave it to rest.
 You can do things,  a couple of different ways here. Usually I let it rest for 30 minutes , twice knocking it back down ( remixing ) with a spatula.  
 I forgot about it for an hour,  and it had risen right to the top of the bowl!!
 If your going to be cooking this right away, now would be a good time to preheat your oven, and pizza stone.  360F is where I cook mine,   I go for the slow and lower method ( partially due to my oven not holding high temps well ) 


After it has risen,  I give it one last mix, more oil maybe required,  and divided the dough ball in two ,  saving half for the next day.  This should make 2 nice 12" pizzas...  I say should , as well...  see for you self :)

The dough will be very elastic, and a little unwieldy..  I have two methods,  this one is way more fun :)  I simply stretch the dough as far as I can in my hands, and then flop it onto the stone,  The spread it out by hand , until Ive reach my desired thickness.  

Or as in this one ( same batch , next day )  I flopped it onto the hot stone , and rolled it out .. nice and even. 

Once your crust is cooked , almost all the way ( approx 20 minutes depending on the thickness, I like to check at the 10 & 15 minute marks ) Remove it from the oven.  
 If your saving it for another day , place it on a rack to cool for about twenty minutes. I have a large freezer bag that I keep handy for flat breads, and such.  Other wise : 


Add your sauce and toppings...    and away you go.
I realize a lot of you are thinking.. this is not how to make pizza :)  Well your right,  but this is my way of making pizza , and I love it.  It allows a lot of forgiveness, its super easy , and can be all be prepared ahead of time, and even frozen if that's the way you like to do things.  :)  Please check back soon , for part 3. Enjoy!

Happy Cooking :)
Rich

Baking on FoodistaBaking
Wednesday, November 17, 2010

Roasted Red Pepper & Garlic Hummus

You've seen them. At the grocery store , all those stacks and stacks of plastic tubs with different colours , and flavours gleaming at you from near the deli isle :)  I used to stop there every week, and drop $5 on a small tub of Hummus... usually it was a roasted garlic , or red pepper.  That was before I started making my own. My first attempt was almost identical to this posts version, Which I must say I enjoyed immensely. So  I thought Id try to recreate how it all happened for me and share.The best part is that after my second batch turned out as well as the first I swore myself off the store bought, and now enjoy a healthier, tastier and cheaper hummus made by me, with my tastes in mind.  Plus I get to control all the ingredients, which can be as few as three. I do try not to add more than eight or ten , as you tend to start losing some flavours. 

Okay, enough babbling.  Time to show you how easy this is. 

The most cost effective way to make this is to buy a bag of dried chick peas ( also called garbonzo beans ) , If you can find organic ones, grab them. Besides the lack of chemicals, I find them to have a better texture. .   

  Pour them into a bowl, and pick out any green or black ones. They always mention to look for stones too, but I have yet to find one. 

The dried peas do require an overnight soak.  If you don't have the time or the patience for this step ,  buy some good quality canned ones and skip the next two steps :)  If your in Canada the PC Organic Chick Peas are really good for canned ones
Dried chick peas NEED to soak overnight . Make sure the are well covered in water and simply soak for 24 hours.  I think the alternative is to boil them for 4 hours, but I have not tried this. 


Once they have soaked, or if you are using canned ones instead. You will need to give them a good rinse, and have a double check for any funny coloured ones.  Notice one on the right that slipped thru the initial inspection. 
Next up, add them to a large pot of boiling lightly salted water. You will want lots of water, about 4 cups for every cup of peas.  The packages always say to boil for 45 minutes, which is fine for using the  chick peas in dishes, for hummus I like to add more water at the 45 minute mark and boil for a further 30 minutes.
If, like me and using the whole bag. You will have way more garbonzos than you know what to do with. Give them all one more good rinse. Then I like to freeze the extra  in 3 cup portions.  That way the next hummus you make will eliminate all the above steps.

Now the fun begins, assemble all your flavours.  I'm using organic garlic, black sesame seeds ( for garnish ), Tahini Paste, L&P, Sea Salt, Black Pepper , Olive Oil, Of course chick peas ( I used 3 1/2 cups of boiled ones. ) and as in my first attempt a jar of fire roasted peppers these were water packed ones.   

Chuck everything into a food pro.  I only chop the garlic, the rest is whole.  I used 2/3rds of the jar of peppers,  you can use more or less. But I have a plan for the remaining 1/3.  (Future Post Hopefully)  plus I added a shake of my chili powder and a few pinches of basil at the last moment. 

I usually start it up on slow speed with a few good glugs of olive oil.. once it gets going I increase the speed and add oil until you like the consistency.

Don't forget to stop and have a good look and taste, It may seem like your adding a lot of salt,  but your making 4 cups of hummus .. that is quite a lot.  ( 4 grocery store tubs worth! )

Once you've reached the consistency you're looking for. ( I don't like it lumpy ,  but do stop before it gets creamy ) Pour it, with the help of a spatula into a resealable container.  I also like to sprinkle something on top.  This time its black sesame seeds and coarse sea salt.
That's it, you now have 4 cups of an amazing roasted red pepper and garlic hummus :) About 4 times what you'd get in a prepackaged one at the store , all for about the same price as one 1 tub.   PLUS you should have at least a few packages in the freezer.  Now all that's left to do is grab yourself some homemade bread and veggie sticks and you've got a great lunch , or even a light dinner.  Or like tonight, a great late night snack. 
Happy Cooking!
Enjoy :)
Rich

Thursday, November 11, 2010

A Very Interesting Day For A Garlic Lover!!

My little Revolution, is about alot more than just cooking up good local food, sharing recipes and ideas.  I also want to showcase Farmers Markets, Farms , Sustainable, Organic Food , Backyard and Kitchen Gardening .. I just hadn't expected to start that until next season, due to the market closing 2 weeks ago.  Happily today sped that up a little :)

A quick back story is needed for anyone who hasn't been following on Facebook :)  About a month ago, I kind of unexpectedly decided on a career change... since then Ive been doing odd jobs to keep busy, rebuilding fences, clearing brush or leaves just about anything that isn't office related !  More recently Ive been helping a local Organic Farmer dismantle a huge ( for me the home gardener! ) 32 x 96' industrial greenhouse. I'll begin :

Paul and Jenny Svetec where nice enough to hire me on for the project.
http://www.svetecfarms.com/

 
I showed up at the farm today , and what a beautiful day it was full sun , light wind and 10C,  expecting to reassemble the massive greenhouse we took down last week ( 3 x 26' truck FULLS )  
The project :) Dismantle , move and reassemble.

As I'm approaching the farm house Farmer Paul informs me we will not be erecting the greenhouse today ?? Uh oh , that's all I was really hired for ..... 

But will be planting garlic today instead :) Ohhh Happy day!!
Ok, for those that don't know I LOVE GARLIC !! I eat it everyday , and can't imagine cooking without it!  So he sits me down with a 25lb box of garlic heads , and says get crackin ?


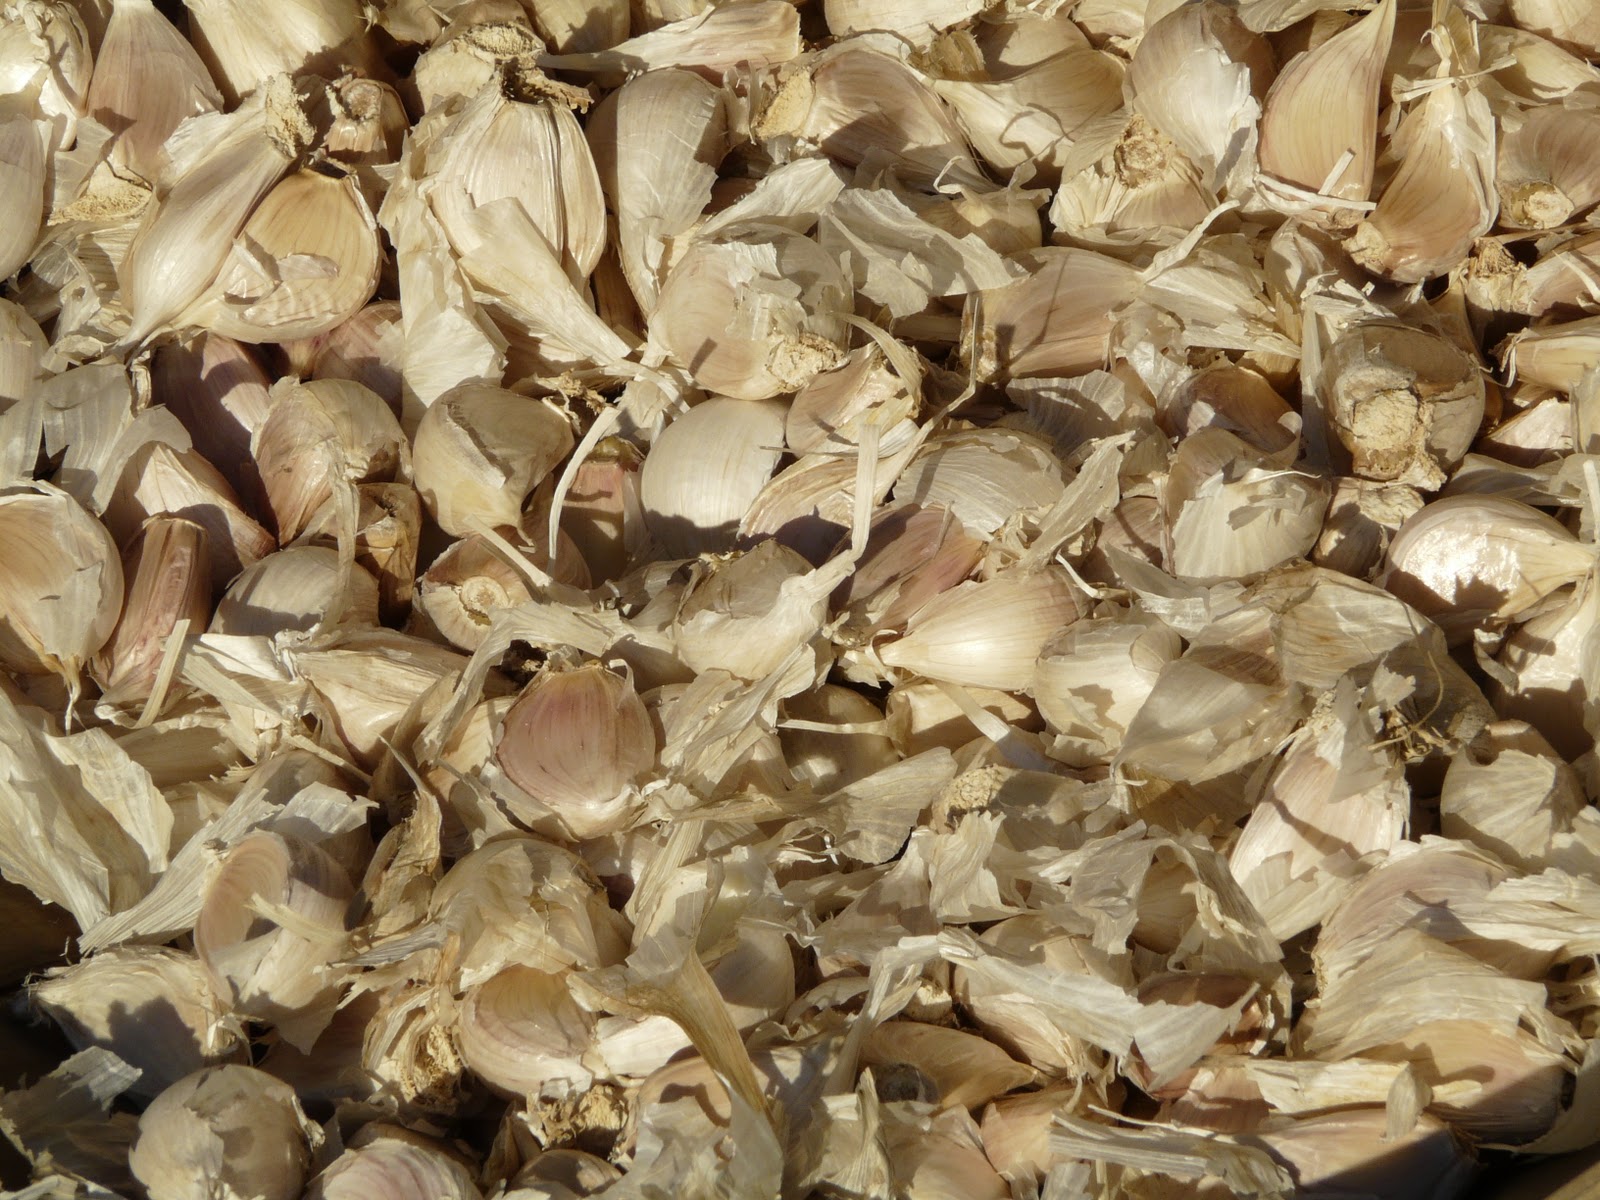
25 pound box of Organic German Garlic :)

 Wow!! Thats alot of garlic heads!! There was about 350 heads to a box. So a cracking garlic cloves I go

My Garlic cracking station, That was only one of four boxes, this was surprisingly hard on the hands. Who knew cracking garlic was tough work lol.  Prior to this the most Id ever cracked was 6 at one time.

 Once we had a bushel full we headed to the fields.

 It was nice and sunny, pretty cool still as it was reasonably early... 
 My ride for the day :)
  The view for the afternoon  ( In the morning I was on the left side, with a different wheel that wasn't nearly as efficient as this one !  ) Was a lot of fun actually, except maybe in the early morning when the ground was half frozen ...  my thumbs took a bit of  a beating, but it was well worth it.    
 We planted three varieties today , Spanish Roja ( I ate a whole clove of this raw !! WoW! That'll wake you up in the morning I tell ya!! ) , Music ( Huge Wonderful Cloves ) , and German  ( Nice looking med/large Garlic )

We worked as late as we could , but it gets dark quick this time of year .  Nice pic as I was leaving . 

 By the end of the day I had planted 12 rows of garlic. Around 50lbs of it ! approx 2800 cloves of garlic, pressed by hand into the dirt...   I Loved it!!! Then to makes things even better, while out there he shows me his seed field with 40 more different types of garlic growing !! Ive got a few heads of garlic for myself, a few cloves of each ill be planting this weekend.. if my thumb still works :) I told Paul , he has a new best friend , imagine the fun one could have with 40 different organic types of garlic:))

  Then, as if my day couldn't get any better ... I was treated to this as I rounded the hill to come home.

Well, I hope everyone enjoyed my first venture into a farming related post !  As always I appreciate all comments and feedback. Even if its just selecting a reaction below :) 
Happy Cooking
Rich

Tuesday, November 9, 2010

Chicken Caserole .. Day 2 :) Creative Leftovers

Is anyone else like me?   Maybe one or two people eating, yet you cook for 6 , or even 10 at time... only to have to eat the same dish for 3 days in a row?   Until you so sick of it you don't make it for a year ? Well, I do this all the time ! I'm trying to stop, but for some reason .. when I grab a crock pot or a dutch oven ,  I just have to fill it up !!  LOL I am getting better , I'm down to cooking for 6 , instead of 10 like last year .  However this has taught me to be extremely creative with my leftovers turning them in to all sorts of interesting to eat treats. This week, it was Chicken Casserole. that started it off :)
This was a great dinner,  Chicken Casserole, loaded with tomatoes, onions, mushrooms,  peppers, carrots, broccoli and I used a 6 bean medley instead of potatoes for a change :)


For this dish you will need per person:

  • Leftovers, about two cups, chopped in bite sizes - Warmed up
  • One Medium/Large Yukon Gold Potato - Baked
  • Butter, Sea Salt & Black Pepper, Chili Powder
  • Mozzarella and aged Cheddar ( Or your favourite cheeses ) - Shredded
  • Oven Safe Plate or Dish

Baked your potato for about an hour at 360F, I simply wash mine and prick the skin a few times with a fork and toss it in the oven. If you don't like a crispy skin , you can wrap the spud in tin foil .
 When done,  cut it half lengthwise ,  I like to slice down with a butter knife, but I don't actually remove any potato.  add butter, and salt and pepper at this point. 

Before adding you topping,  I liked to add a little extra flavour,  a few sprinkles of chili powder and a little bit of cheese go down first.

Now the fun part!  Take your preheated casserole , and pour it over the potato.  No need to be tidy about it , this is a knife and fork kind of meal :)

Add some more cheese, and your ready for the oven again .  I leave it at 360F and cook for another 15 minutes. If your in a hurry you can switch it to broil or grill, and get the job done in 5 or less minutes.

Chicken Casserole Jacket Potato Done!!  So good , so easy, and a great way to use up almost any leftovers.  Watch out the plate will be hot!  Grab a steak knife and a fork and dig in!


I hope you enjoyed my first in, what I hope to be, a series of Creative Leftovers :)
Im still learning how to write out the recipes, as I don't use one. Also this is my first post since joining the Foodie Blog Roll.  So if you have any questions or comments , please either post below or send me an email. I do appreciate and respond to all feed back.  

Happy Cooking
Rich

Sunday, November 7, 2010

Roasted Double Stuffed Pork Tenderloins, with Roasted Carrots, Portabellos, Turnip, Red Pepper & Onion, Broccoli and Potatoes all in about an hour :)

Do roast dinners intimidate you ?  Too many pots , pans and ovens to keep track of? How would you like to be able to do everything , in the oven ?  All you need is 2 or three oven safe baking trays, lasagne pans or preferably some cast iron cookware and about 20 minutes of prep time.  The rest is simply timing.  This is something I came up with out of laziness :) For those long days , when you dont really want to cook, but know you should eat something good.  Besides,  who doesnt like a good roast dinner!  Especially without all the fuss and dishes !

The ingredients, I buy my potatoes and carrots from a local farm, so i simply scrub and do not peel them, the rest is just wash and slice:)

A little sunflower oil and chili powder for the roast potatoes :)
Next is the stuffing , I used fresh rosemary, sage , red onion, garlic,  jalapeno, chili pepper , and sea salt . 

Take your pork tenderloin , and slice almost 3/4 the way thru length wise, wash and pat dry. 

Add your minced goodness to the pockets in the pork, unfortunately I missed the next photo somehow .  But I folded the two tenderloins together . < > Over lapping each other to create 4 layers.  If you have kitchen twine or silicone straps, now would be a good time to truss it up . I couldn't find mine and just let them sit :)  Into a preheated oven @ 350F , set the timer for 30 minutes.   


 Add a drizzle of sunflower oil, honey , Lea & Perrin's , and a couple of cracks of sea salt and black pepper add them to the oven, and set the timer for 15 minutes.  While your adding the veggies, check on your pork and potatoes...


At the 30 minute mark, while adding the veggies. Check on the roast and rotate the potatoes for ultimate crispiness! 

After the 15 minute timer goes off (total cook time 45 minutes) add the mushrooms and broccoli, a little S&P, and sunflower oil.  I also lightly rubbed the broccoli tops in the pork drippings for a little extra flavour:) Set the timer for 10 minutes. 

Total cook time 55 minutes , (if your unsure of it being fully cooked, please check with a thermometer) remove the pork to a warm plate and let it rest for 10 minutes.  Check the veggies, if they are done, just leave them in the oven , but turn it off..  I tend to like them a little extra roasted , so i left it on. 

I transferred all the veggies to the pork pan, to soak up some extra flavour. Set the timer for 10 minutes and back into the oven.  On or off your choice at this point. 

After ten minutes of resting, move the pork to your cutting board.  If you like warm plates, like I do,  now would be a good time to put them in the oven.

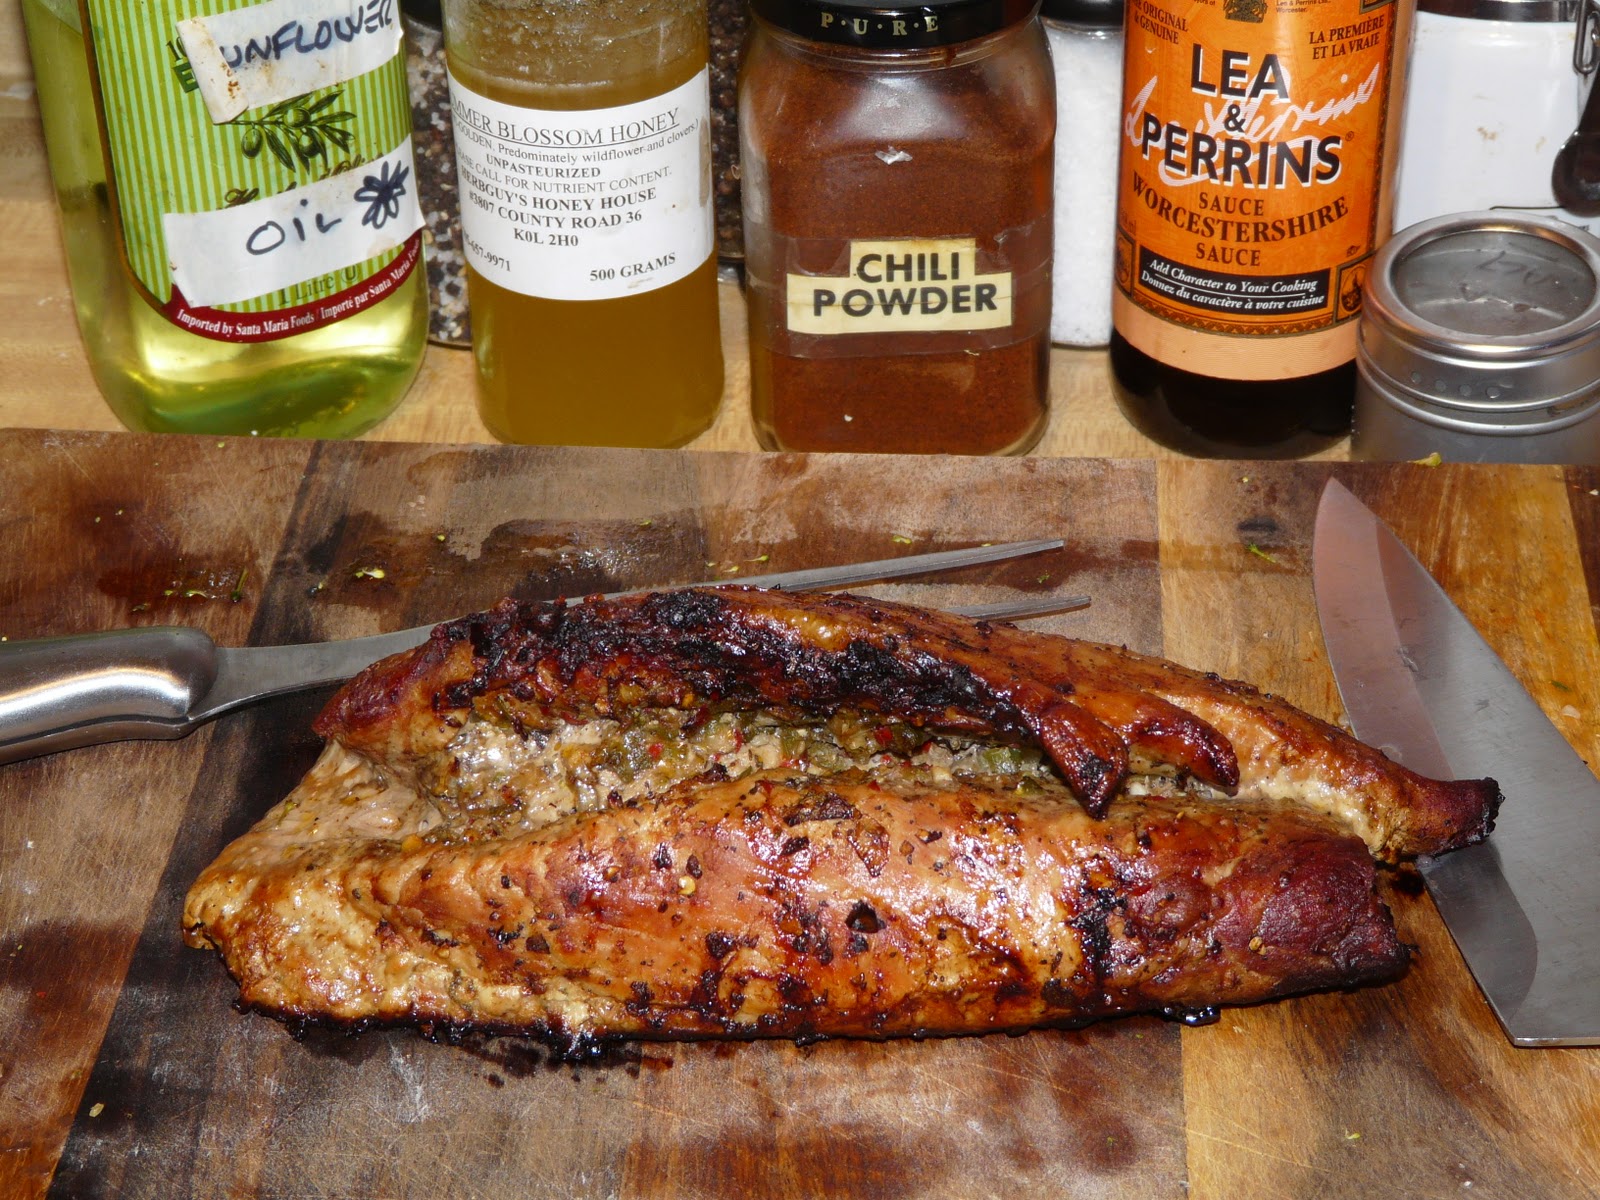
I don't normally start by cutting it in half, but I knew I had forgotten the assembled raw pic and wanted to show the layers .  They came a part a little as I didn't tie it , but Ive got to say it worked great anyways!  Slice as you like it , I prefer large piece, and will cut on my plate. 


All that's left is to take the veggies from the oven , and arrange on a warm plate! Grab a knife and fork and a glass of red wine and Enjoy ! 

Ive got to add, the reason for the one small turnip is , Ive never liked them .. but have recently found that organic veggies are changing my previously disliked foods. So far this makes, Beets, Turnips, Parsnips and yes even Brussel Sprouts that I have enjoyed in the last month , all organic and delicious.  
I hope you enjoyed my : Roasted Double Stuffed Pork Tenderloins, with Roasted Carrots, Portabello Mushrooms, Turnip, Red Pepper & Onion, Broccoli and Potatoes. 

Happy Cooking :)
Rich

Roasting